
Here are some photos that show the materials you need for a TEA (Transversely Excited Atmospheric Pressure) nitrogen laser, and the stages of construction. You can click any of the small images to see a larger one.
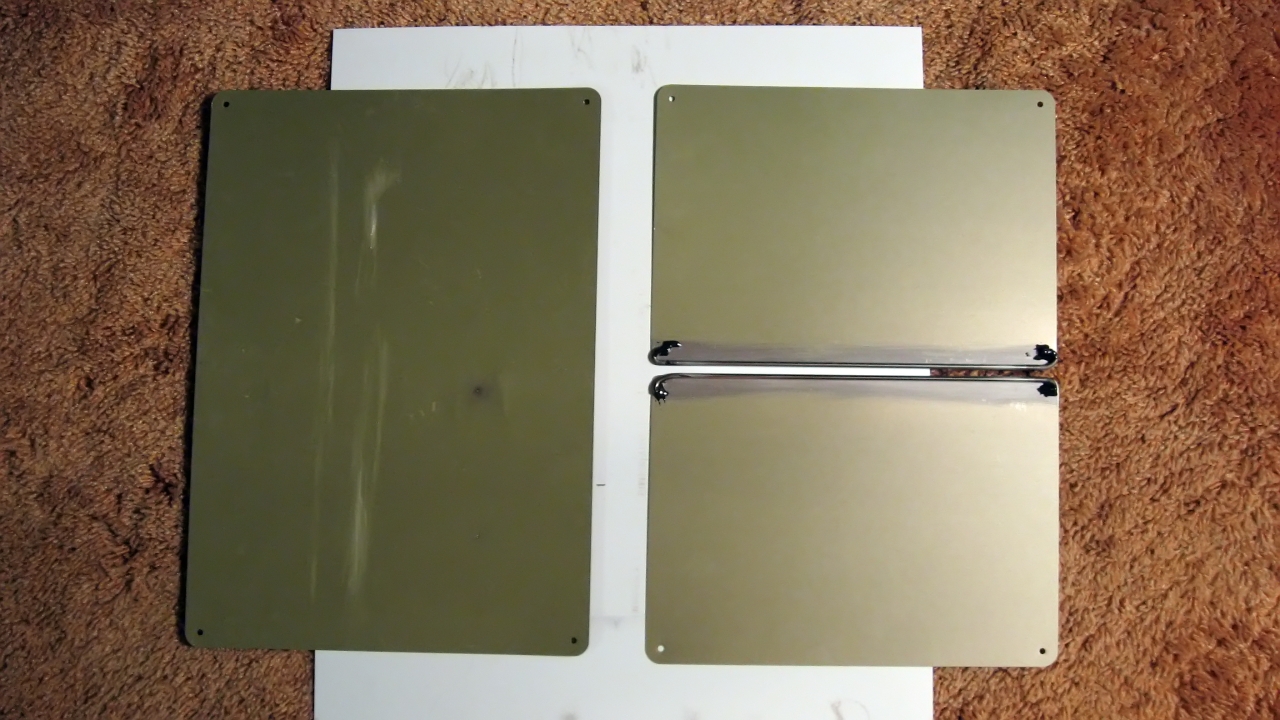
First, the parts you’ll require: a thin plastic sign (1 millimeter thick is fine), two aluminum signs for capacitor plates (only one is shown in the photo), and two metal rods for electrodes.
(You will also need two large lugnut covers for the spark gap that switches the laser. You can get these at a truck stop. They cost about a dollar apiece.)
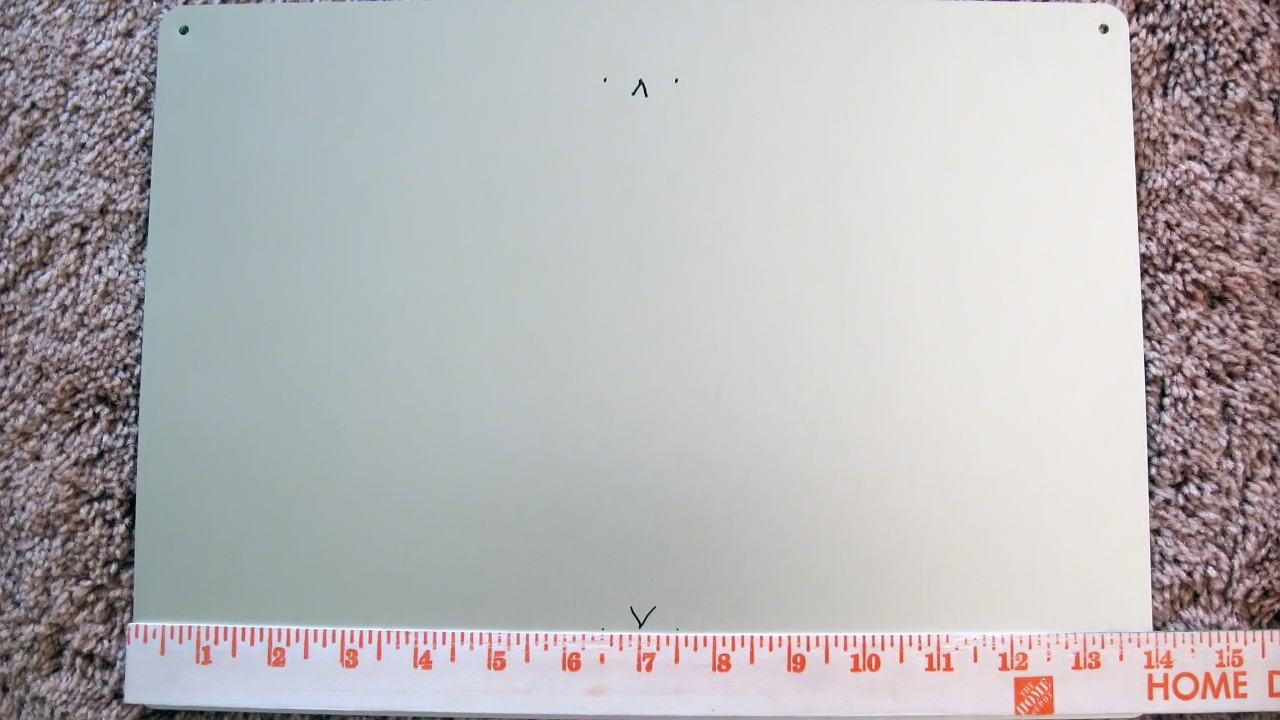
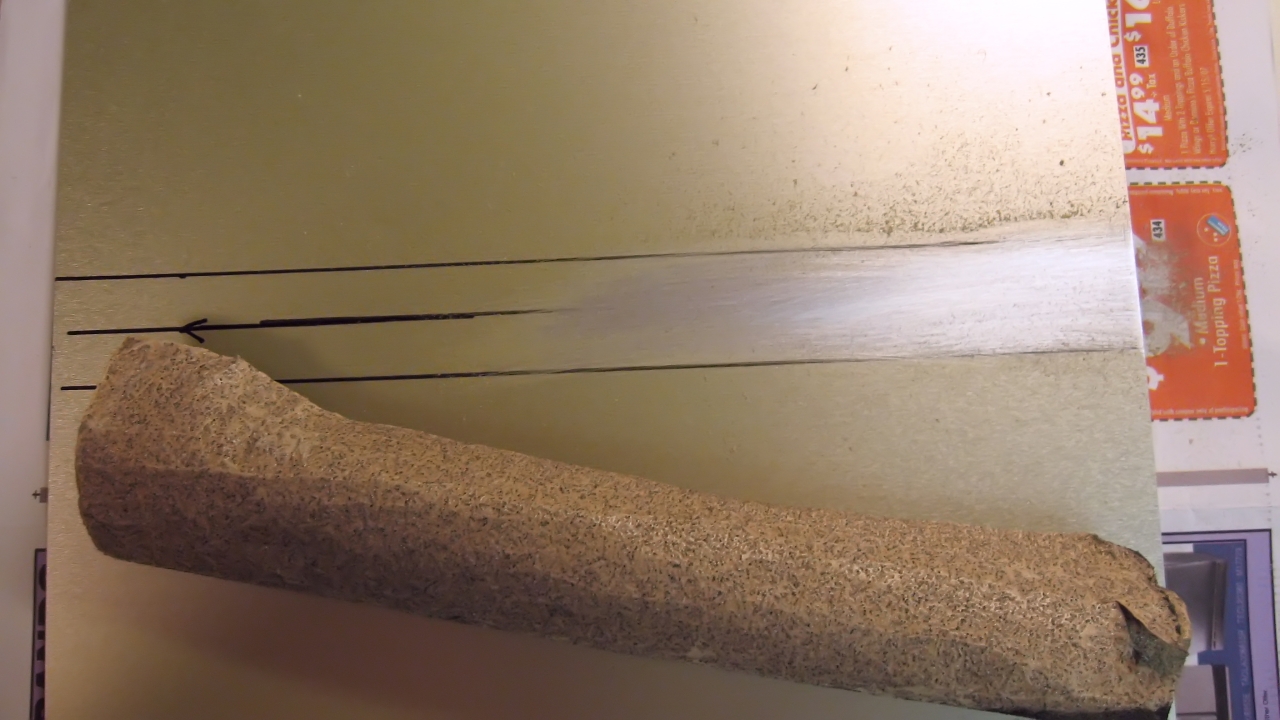
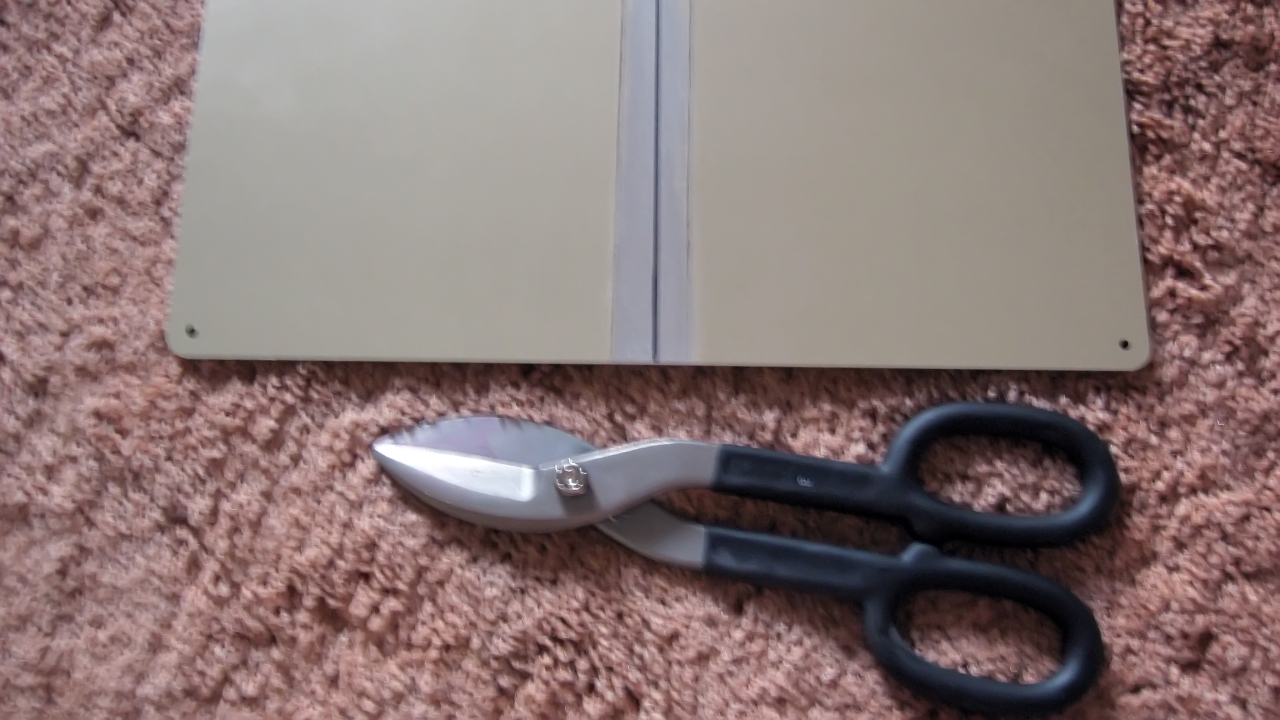
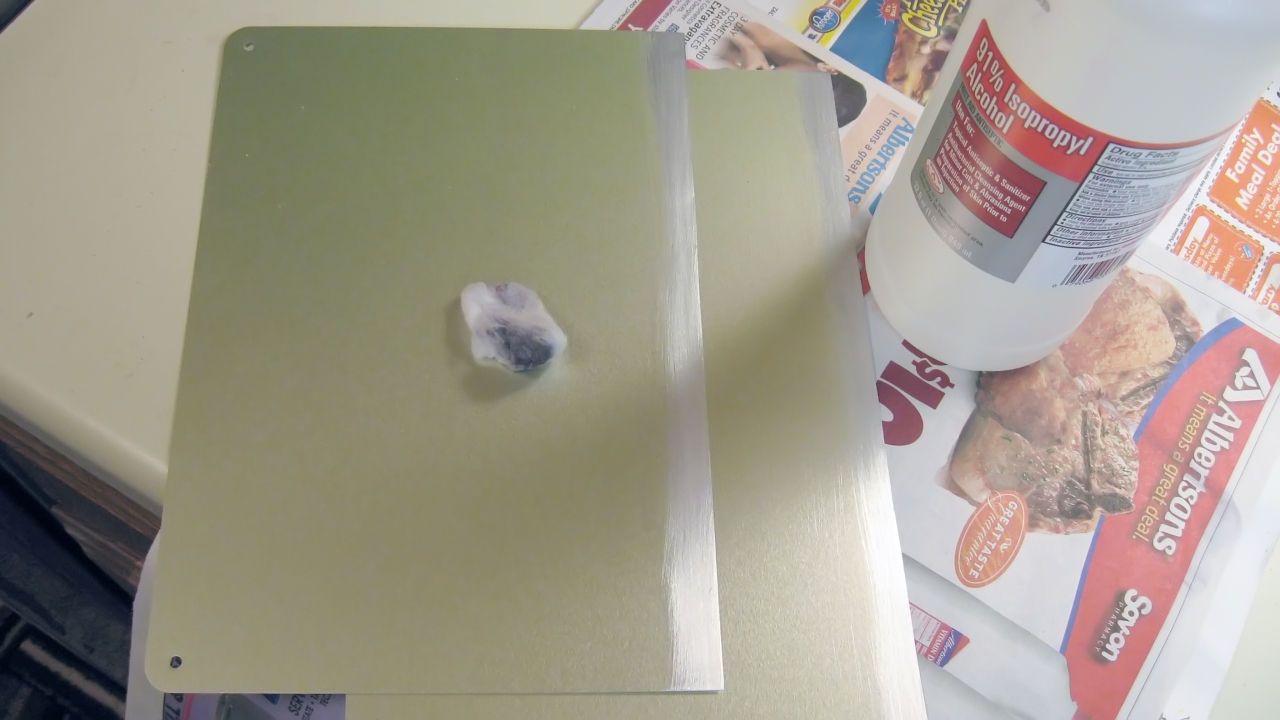
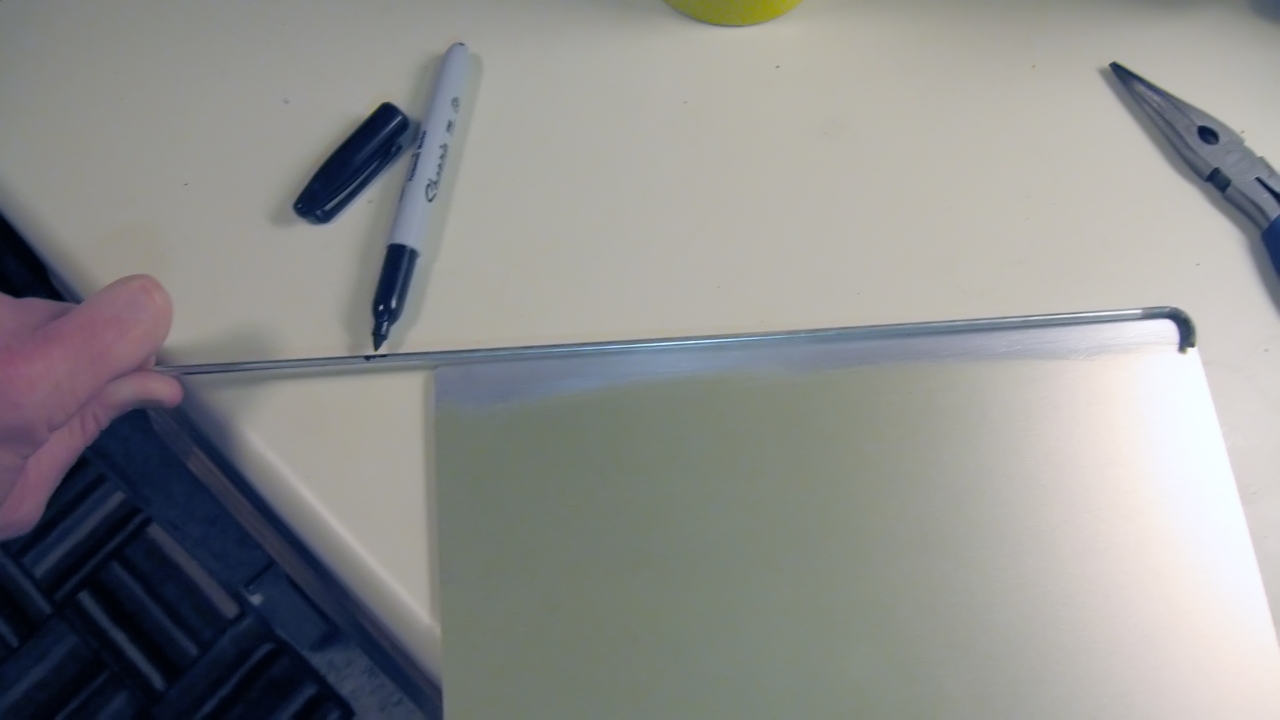
To get started, mark the middle of the sign that will become the two capacitor plates of your LC-inversion circuit (often incorrectly called a Blumlein circuit), define a region to be cleaned so you will get a good connection to the electrodes, and sand the connection region to remove the oxide coating on the aluminum:
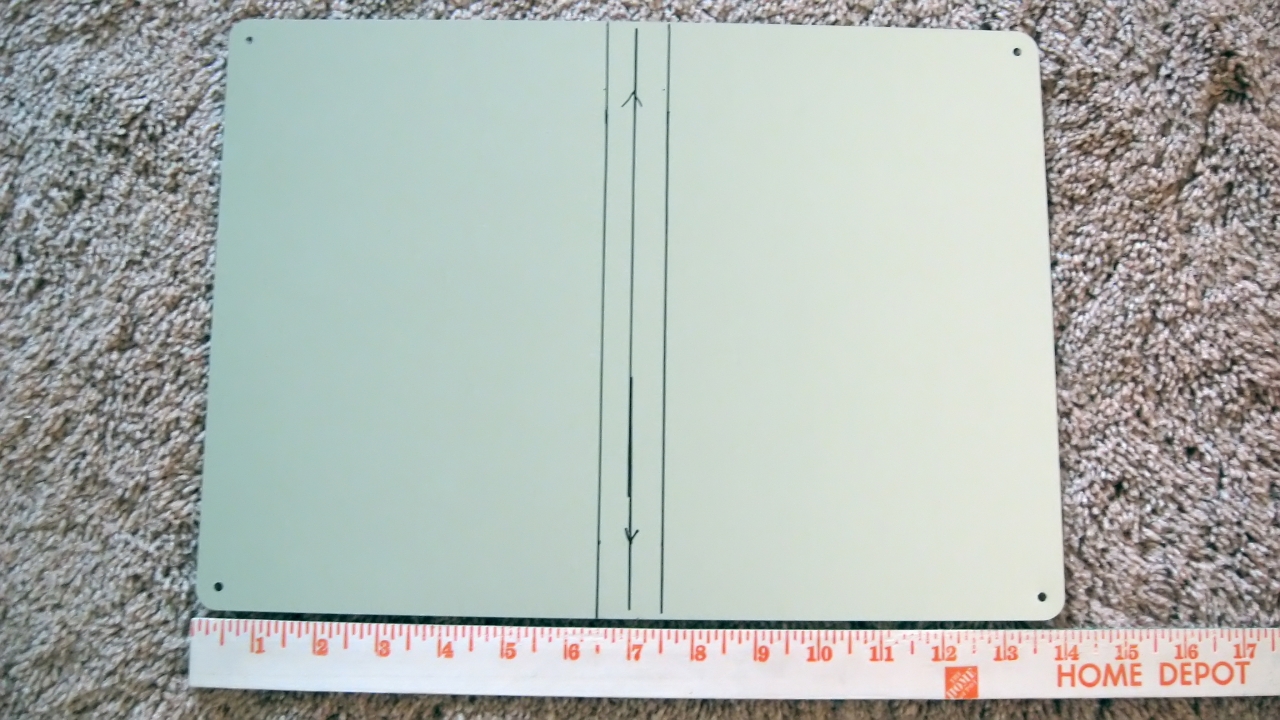
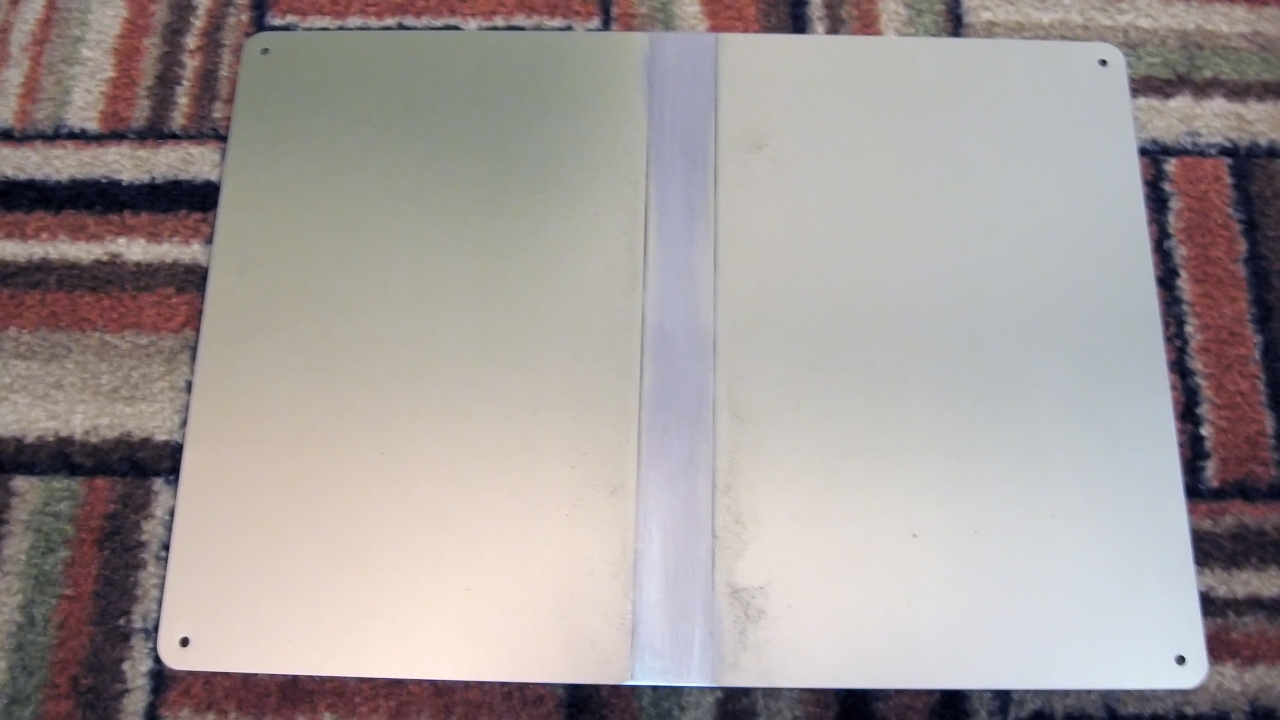
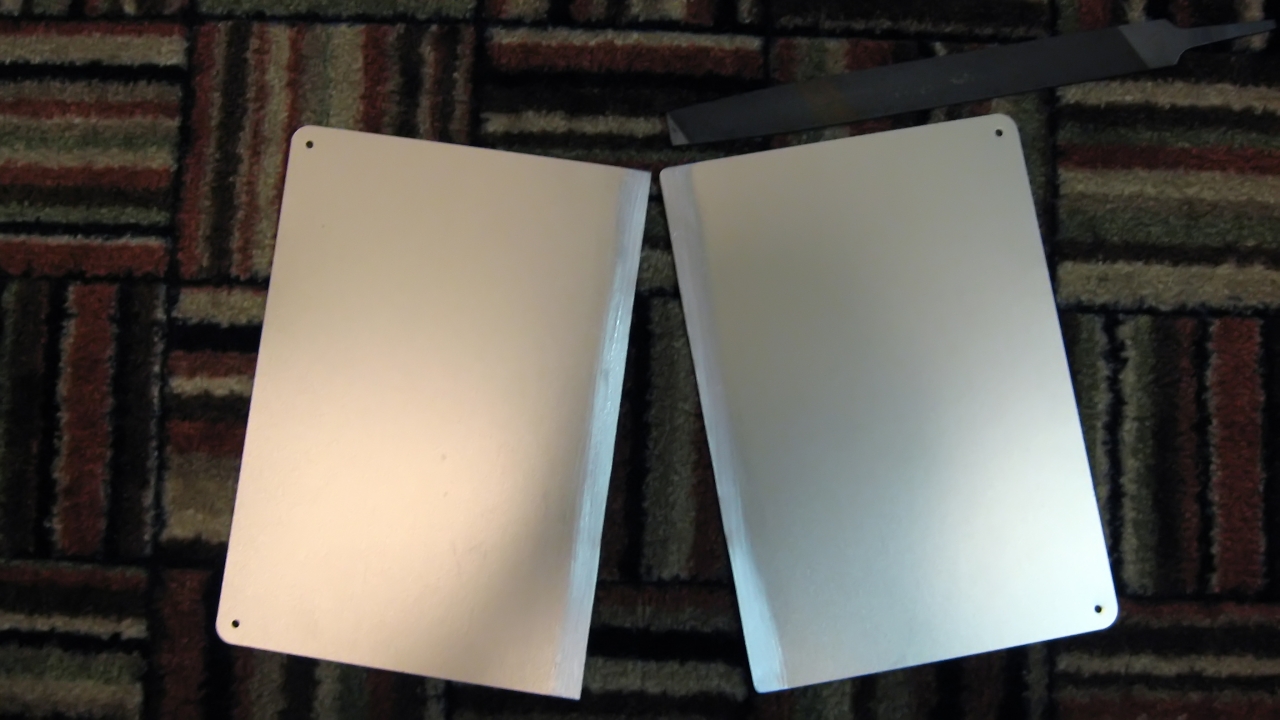
Now mark the centerline, cut the sign into two pieces, clean the cut edges (I use 91% isopropyl alcohol), smooth them, and round the corners:

Next, you’ll need to make the electrodes. Rods that are 1/8" in diameter appear to give better output than larger rods, though it can be easier to adjust the laser to produce a clean discharge with thicker ones, and thicker rods help make the beam a bit more manageable by lifting it slightly higher above the dielectric. (The thicker they are, though, the harder they are to bend.)
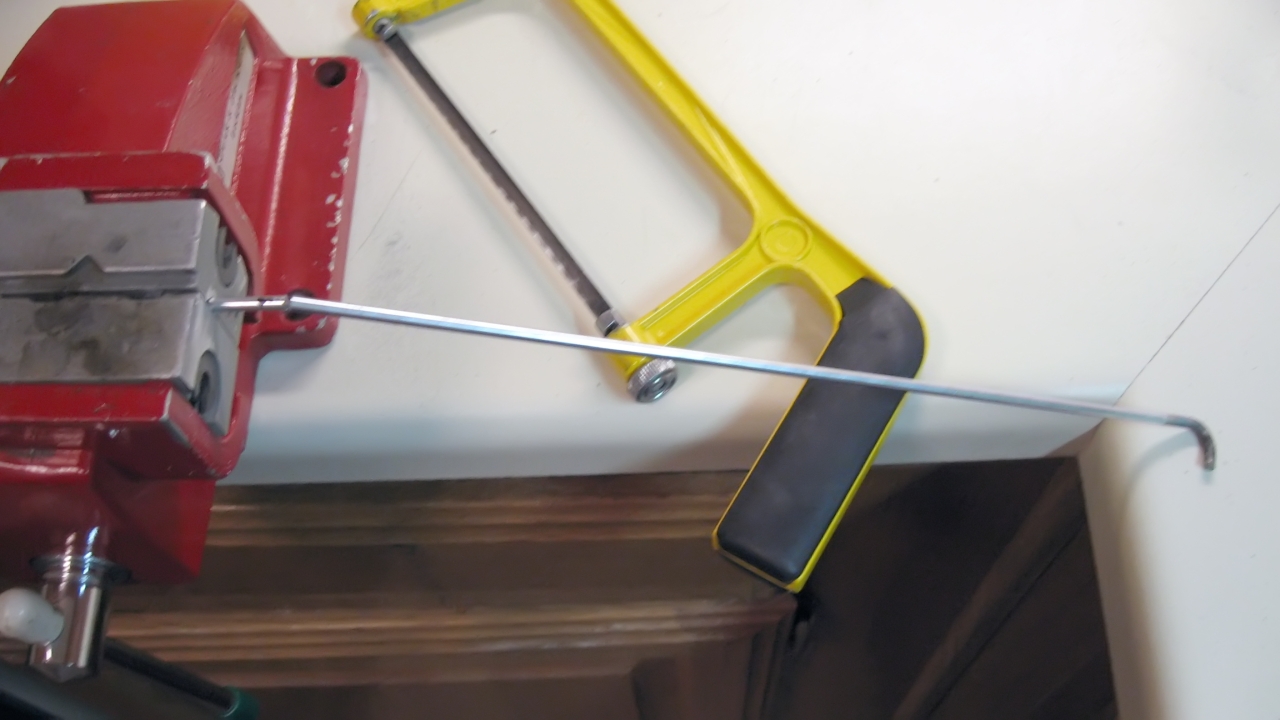
Here are the tools you’ll need, and a piece of rod:
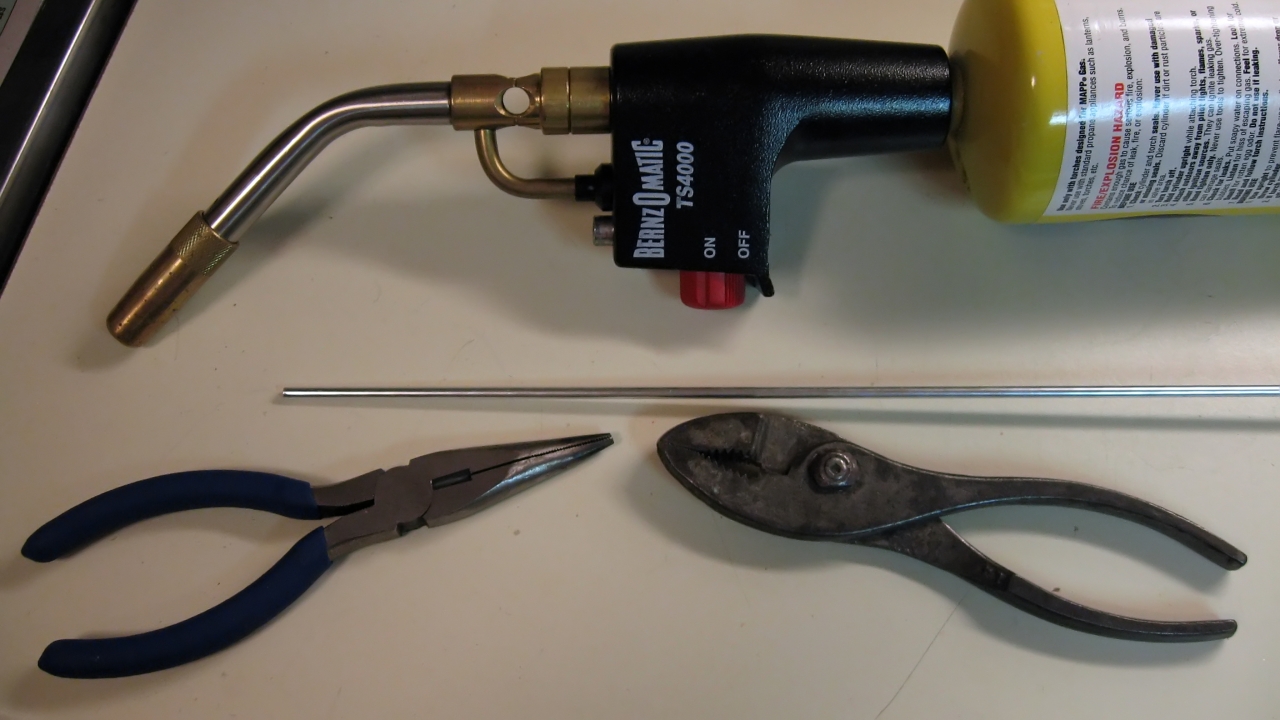
MAPP gas (the yellow cylinder in the photo) burns very hot, and can be helpful if you are bending steel rods, but it is expensive. Propane will work fine. If you are using aluminum rods a tool for bending copper tubing will work on them, and you won’t require a torch.
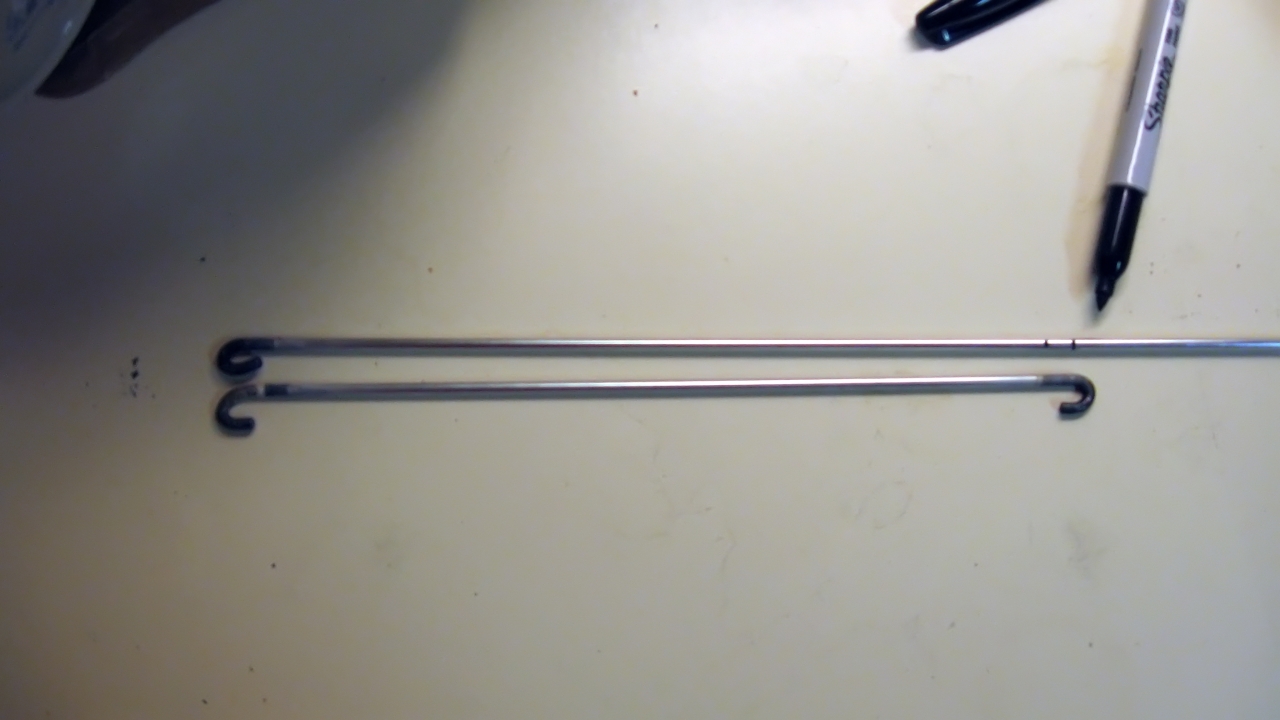
Bend the first end of each rod, and measure the correct length for the first one by comparing it to a capacitor plate. Cut it, bend the other end, match the lengths fairly closely (though this is less crucial than you might think), bend and cut the second end of the second electrode, and clean the cut ends with sandpaper, a file, or a wire brush.

I attach my electrodes only at their ends, using J-B Weld epoxy, which is very strong. Remember to protect the surface of your workspace!
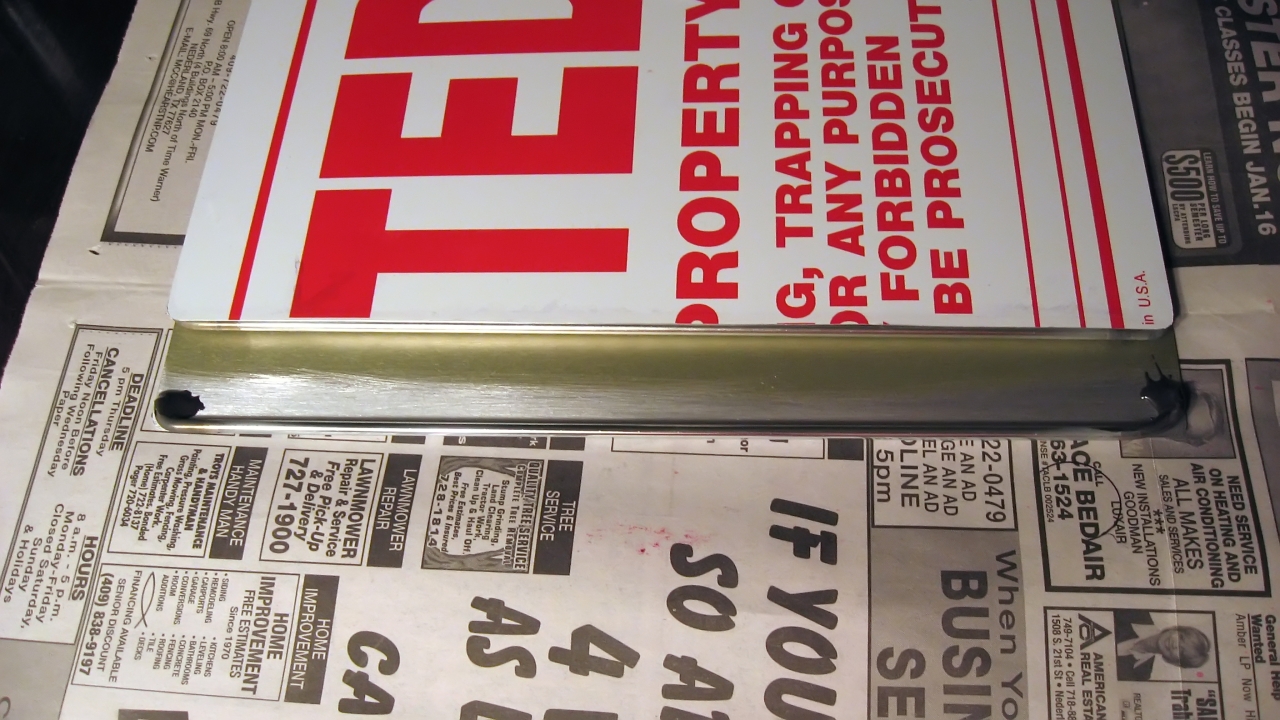
Notice that the electrode is placed so that the edge of the capacitor plate is partly hidden beneath it. Try to get this spacing as uniform as you can, because if it changes along the length of the electrode you may have trouble getting a clean discharge.
Here are the parts of the LC-inversion circuit, then the partially assembled laser (showing both a charging resistor and a charging inductor, though you will only use one or the other), then the laser with a cover over the channel and some weights.
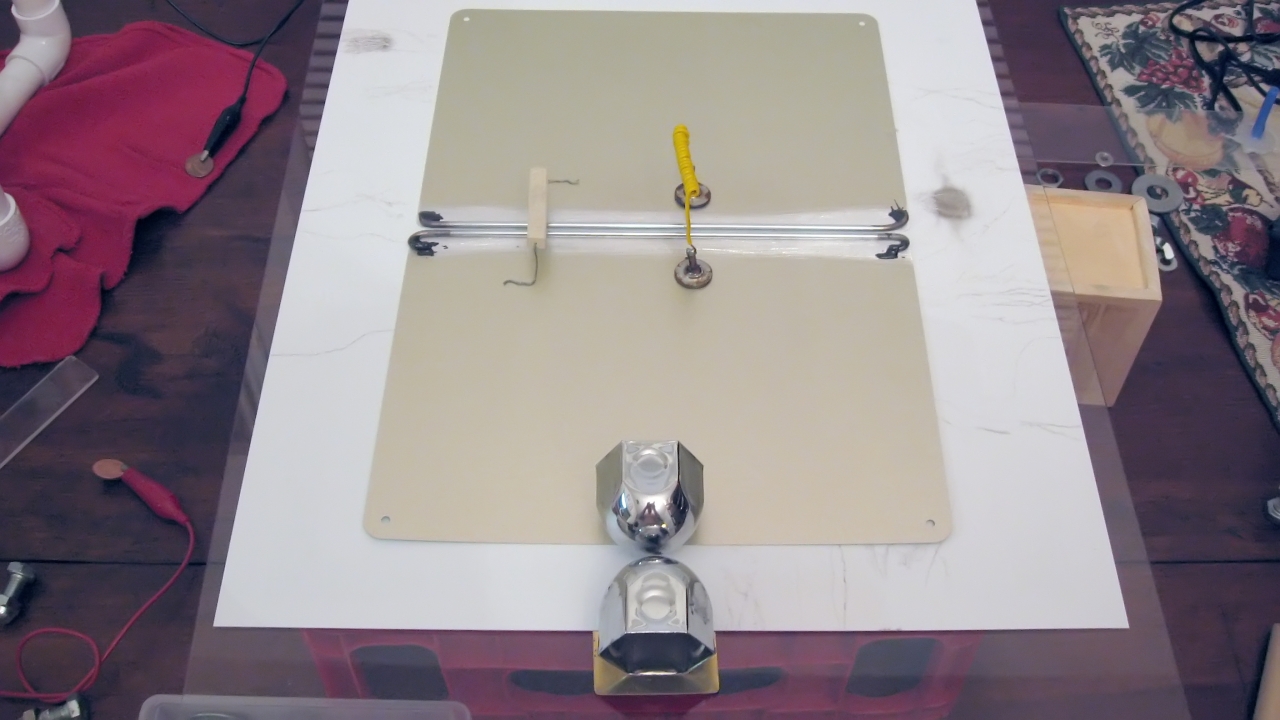

(You can see the lugnut covers in the middle photo.)
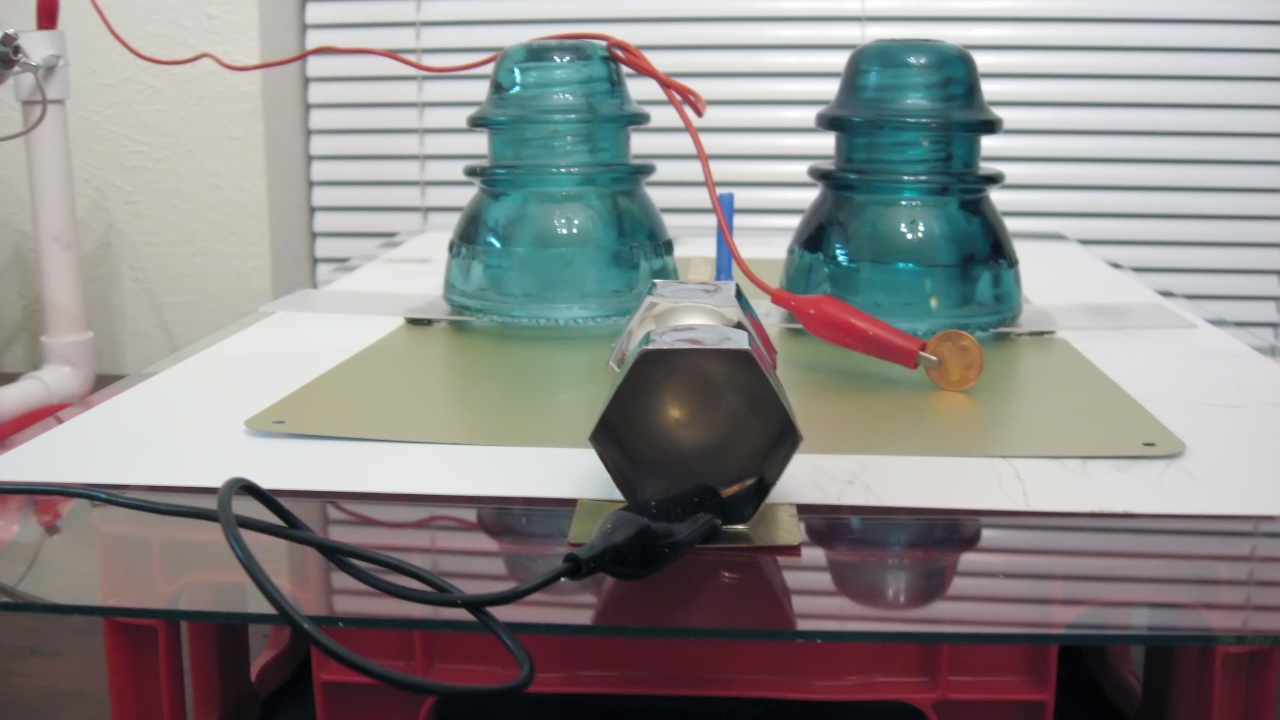
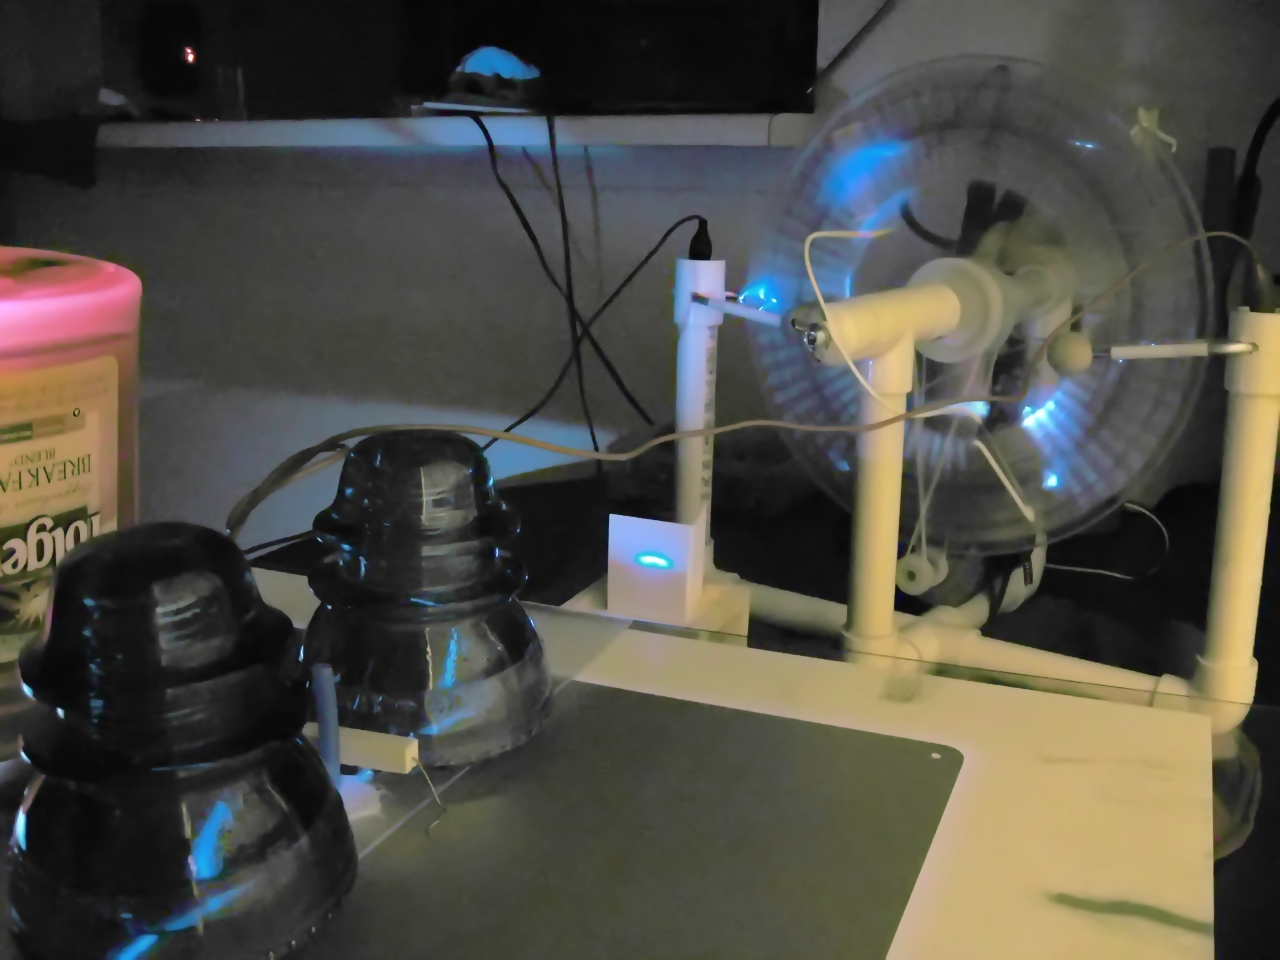
If you are using an electrostatic generator as a power supply, you need to be able to determine its polarity. Most generators can change from time to time, which makes this even more important. Get a “flame” bulb like the one you see in the picture. Disconnect any Leyden jars that you have on your generator (!), and crank the generator while you hold the glass part of the bulb to one of the output electrodes. If it is on the negative side, you will see small orange dots on the inside of the glass. If it is on the positive side, you will see small branched lightning strokes. The sound is also a little bit different. The dots and lightning forks are very difficult to photograph, but here is a picture of one kind of flame bulb that works well, with one of my Wimshurst machines in the background:

If you don’t have a flame bulb, you can watch the discharge. You will probably see tiny white sparks or striations (I call them “icicle sparks”) coming from the surface of one rod or the other. For best operation, you want these to be on the spark gap side.
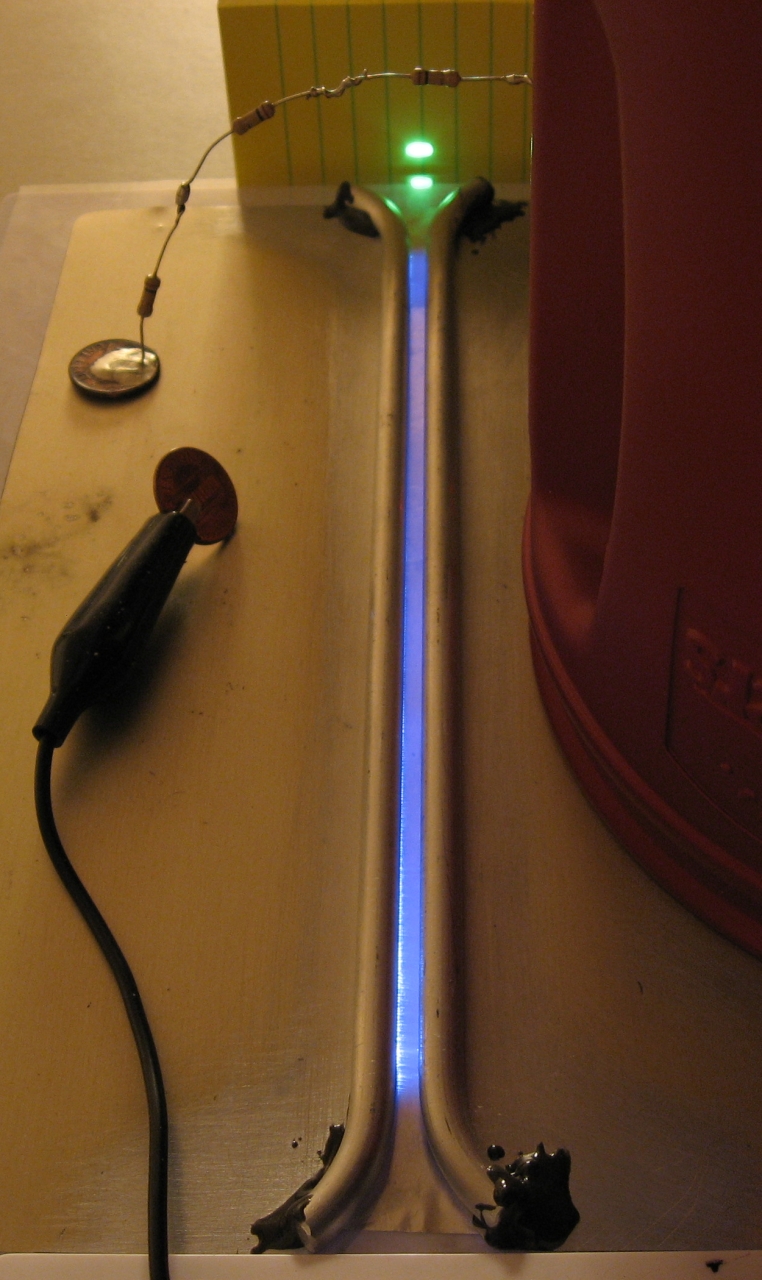
Here is the laser with its power source connected. You can get a sense of scale from the penny, which is 3/4 of an inch across.
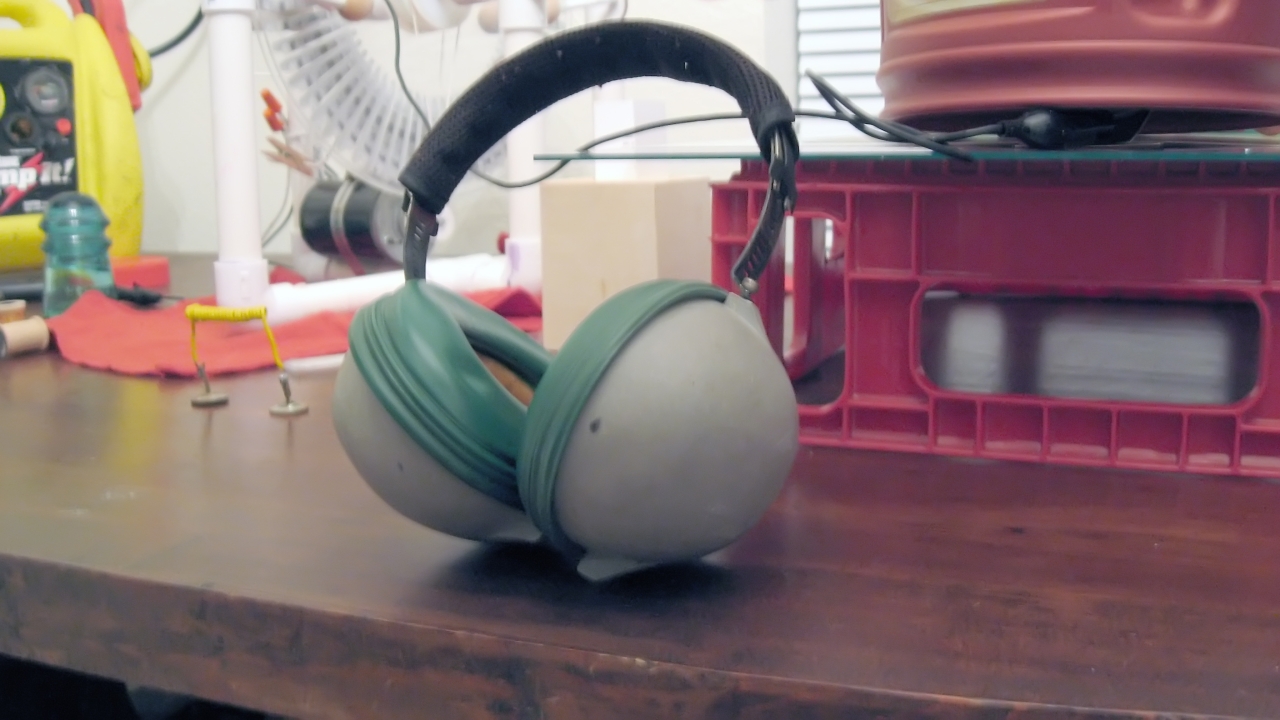
Here is something that is absolutely crucial: adequate hearing protection. The spark gap sounds fairly loud, but in fact it is much louder than you think. It puts out shockwaves that will destroy your hearing over time if you fail to protect yourself against them. You can get a new hearing protector, and you can build a new laser, but medical science can’t regenerate the nerve cells in your ear yet, and hearing aids can only help a certain amount. You owe it to yourself and your future to be smart about this!
Here is the completed laser actually running. This is just air lasing — I did not bother to fill the channel with nitrogen. (Air is a terrible laser. If the channel were full of nitrogen, the fluorescent spot on the target would be far brighter. On the other hand, air makes a good test of how well your design works and how well it is adjusted, so I always start with it. If your laser won’t lase air, it probably won’t be very good even with pure nitrogen gas...)
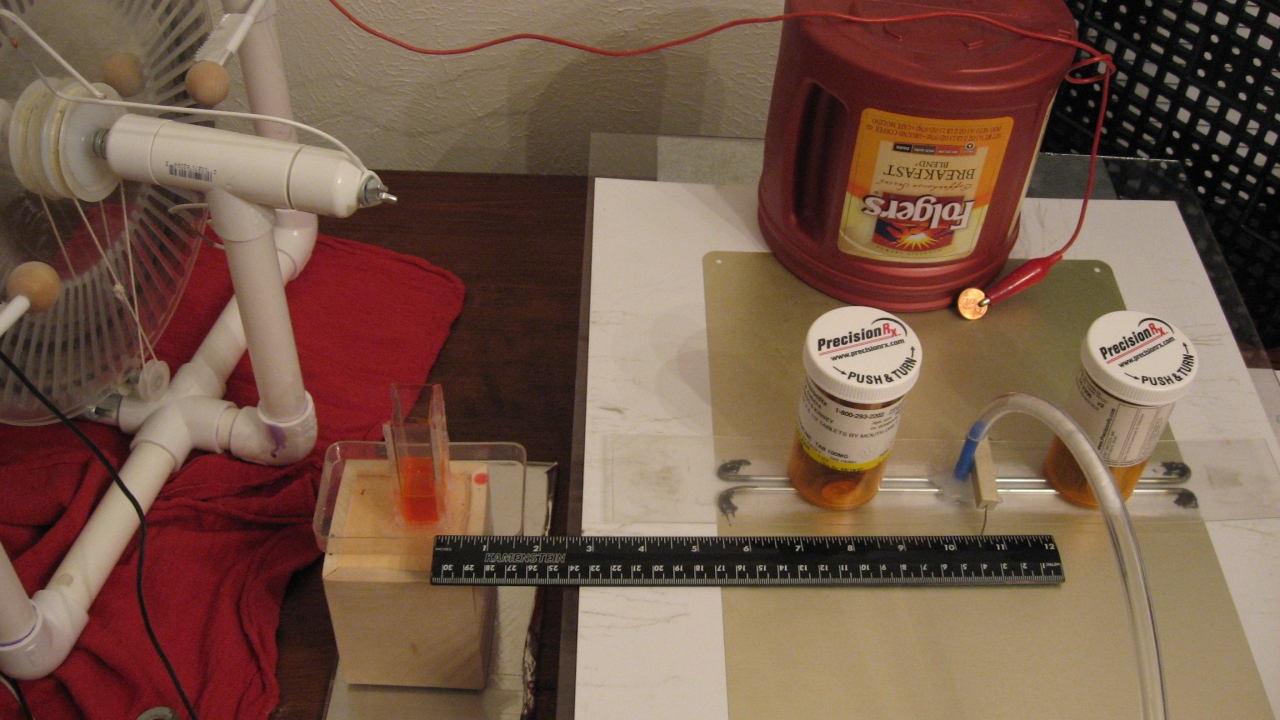
Here the laser is set up to pump a dye cuvette...
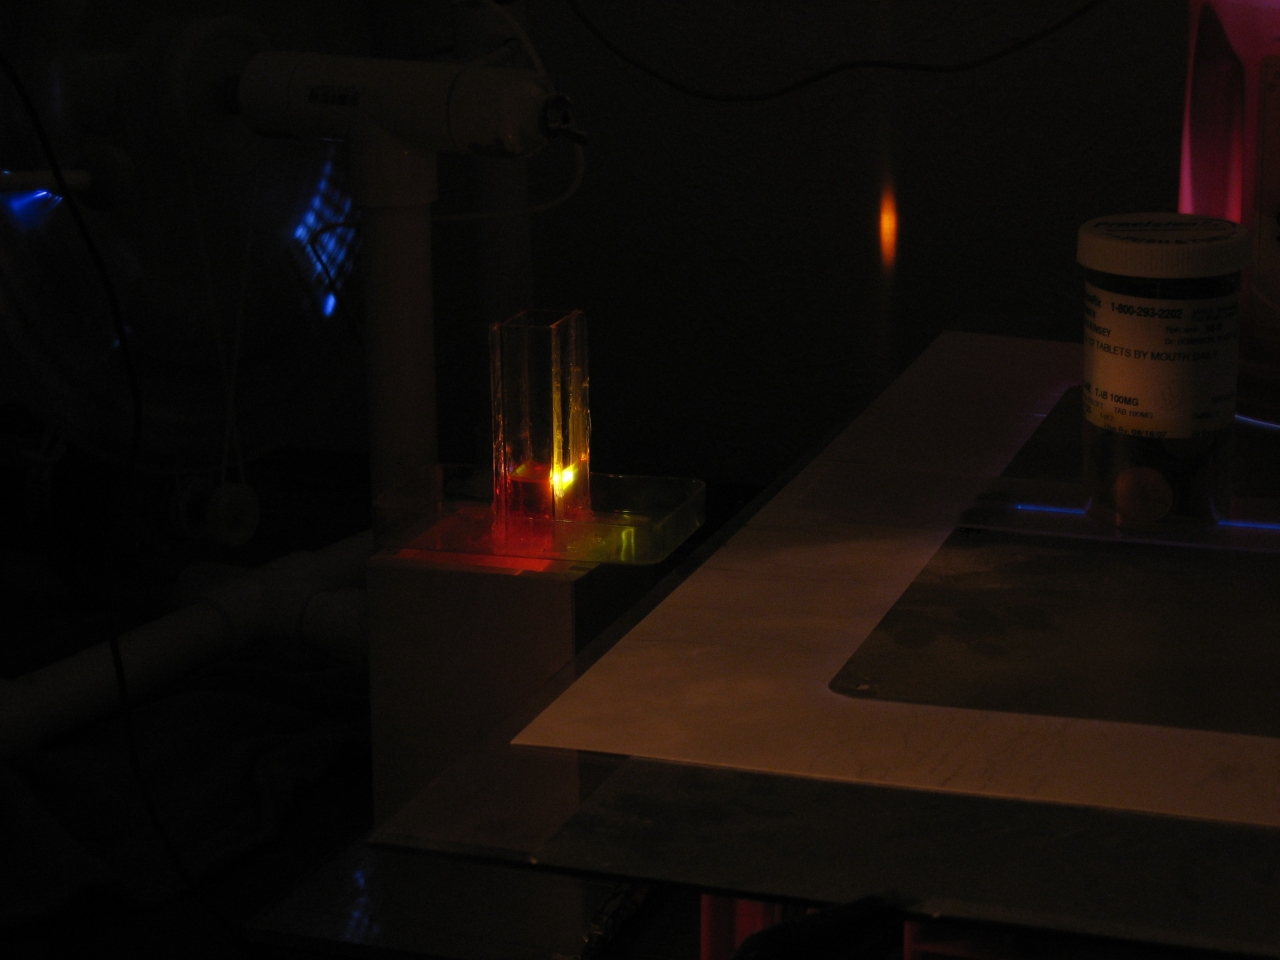
...and here it is, with nitrogen in the channel, lasing Rhodamine 6G without a focusing lens:
Here are some suggestions about design, and one point about adjusting the laser so it will operate well:

Please note that the laser shown in these photographs was operated for demonstration purposes only. In a practical system, weights are placed over the electrodes to ensure good contact with the capacitor plates. Although the laser works decently with air, the output will increase tremendously with nitrogen.
Jon Singer has some additional information on this page.
If you have any questions or you would like clarification
of any details, please send me an email message. (Address
below.)
Photo tweaking: Milan Karakas
Photo scaling:
Jon Singer
You can reach me at an email address that you construct construct from the following three gmail pieces: com, along with jarrod694. (I don’t offhand know to prevent robots from harvesting the.address@and making spam from it, but I certainly hope so. I also hope that it is easy for humans to unscramble.)
Last modified: Tue Jun 5 22:07:28 EDT 2007